You'll need
4- Your phonelens wiped clean
- A window with daylightno direct sun
- White card or paperA4, as a reflector
- A plain surfaceboard, linen or table
Steps
9- 01
Turn off the overhead lights. Mixed yellow and daylight is what makes food look orange and flat.
- 02
Put the plate beside the window so the light comes from the side, not from behind you.
- 03
Wipe the lens on your shirt. A greasy lens is the #1 cause of hazy food photos.
- 04
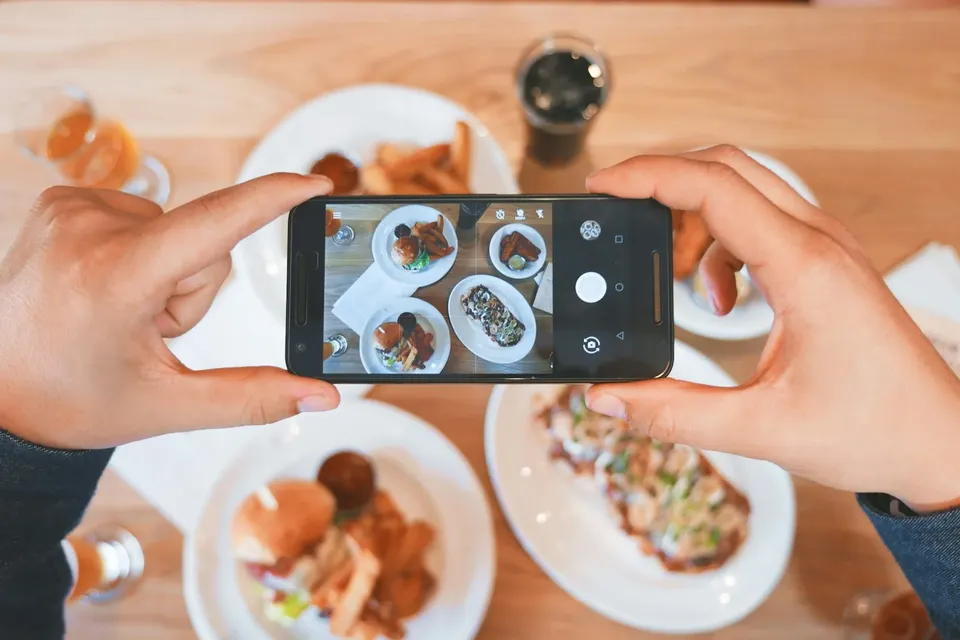
Pick the angle for the dish: straight overhead for flat things (pizza, bowls, spreads), 45° for tall things (burgers, drinks, layered cakes).
- 05
Switch to the 2× lens and step back. It stops the plate edges from stretching and looks more natural.
- 06
Tap on the food to focus, then drag the brightness slider down a little so highlights don't blow out.
- 07
Hold the white card on the side opposite the window to bounce light into the shadows.
- 08
Add a human touch (a hand, a fork mid-twirl, a pour) and shoot a burst. Pick the sharpest frame.
- 09
Edit lightly: a touch of warmth and contrast. Skip heavy saturation; it makes food look fake.
tips
- →Best light is mid-morning or late afternoon on an overcast day.
- →Leave some empty space on one side of the frame for your caption or title text.
- →Shoot the thumbnail before you eat. Steam and gloss disappear in two minutes.